
Your first local charity run will teach you more in three hours than a year of reading about event photography. You arrive while the park is still grey, the coffee urn is steaming, and volunteers in high-vis vests are taping cones to wet grass. Then the horn goes, and you have about ninety seconds to catch the start before the field strings out along the road. Most first-timers come home with four hundred frames of the backs of heads. A little planning fixes that.
Here is the checklist worth running through the night before, and again in the car park.
Before You Leave the House
Build your kit around the light and the distances you will actually shoot, not around everything you own. Charity runs are crowded, fast-moving, and often early, which means low light at the start and hard sun by the finish.
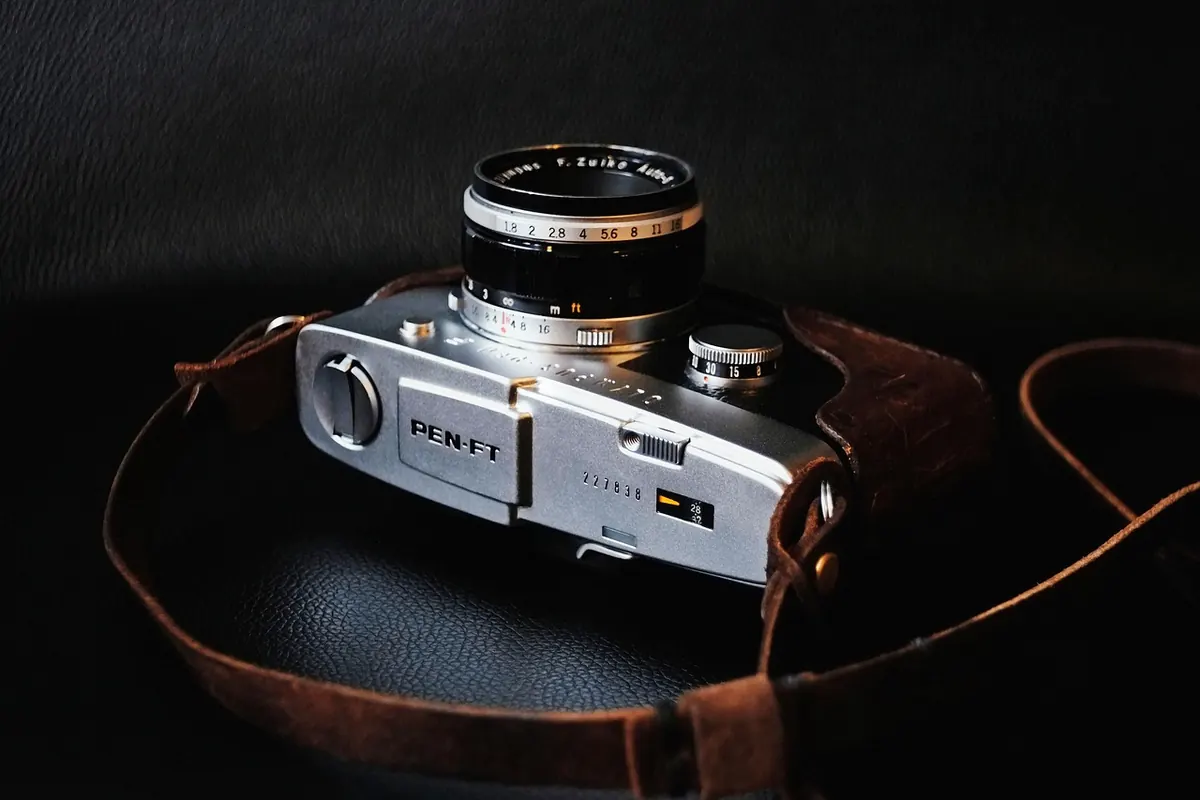
- Two bodies if you have them, one with a wide-to-standard zoom for crowds and atmosphere, one with a telephoto for faces at the finish. Swapping lenses in a crowd is how you miss the shot and get dust on your sensor.
- Spare batteries and cards. Bring two more of each than you think you need. Cold mornings drain batteries faster, and burst shooting fills cards quietly.
- A microfibre cloth and a small towel. Water stations produce spray, and rain is always possible.
- Comfortable shoes you can move quickly in. You will walk the course twice and jog once.
- Layers, a cap, sunscreen. You will be standing still for long stretches, which feels colder than the runners' side of the fence.
- Water and a snack. Nothing ruins the last hour like being hungry.
- Something with your contact details — a card, or a note on your phone you can show people who ask where the photos will appear.
Set the camera up before you leave. Aperture priority, single-point autofocus on the centre or the eye, auto ISO capped at a level you are comfortable with, and a shutter speed of roughly 1/500 or faster for runners in motion. Test it on someone walking past your kitchen window.
Walk the Course First
Arrive early enough to cover the route on foot. Twenty minutes is usually enough on a 5K loop, and it changes everything. You are looking for four things: where the light falls, what sits behind your subjects, where the organisers have put banners and mile markers, and where you can stand without being in anyone's way.
While you walk, note the start area, the first narrow pinch point, any water station, the steepest hill, the final corner, and the finish chute. Check in with a marshal or the event organiser and ask where photographers are permitted, whether there is a media pass, and how they want photos of children handled. Most small events are relaxed about a volunteer with a camera; all of them appreciate being asked.
Where to Stand, and Where Never To Stand
Positions matter more than gear. A few that reliably work:
- Beside the start line, slightly ahead of the field. Get the nerves, the hugging, the last-minute watch checks.
- Two hundred metres in. The pack is still bunched, so wide shots look full of energy instead of empty.
- A corner mid-course. One spot, two angles: faces coming towards you, then runners leaning into the turn.
- The hill. Effort shows here more than anywhere else.
- The finish, from the front and low. Crouch, keep the line clear behind you, and let runners come to you. Never stand in the chute.
Never step backwards into the course, never stand on the inside of a blind corner, and always keep an escape route to the side. Runners on open-road courses share space with traffic, and a photographer in the wrong place is a hazard, not a documentarian.
Quick tip: pick your two or three positions in advance and commit to them. Sprinting between four locations means you arrive out of breath for all of them.
Reading Faces at Speed
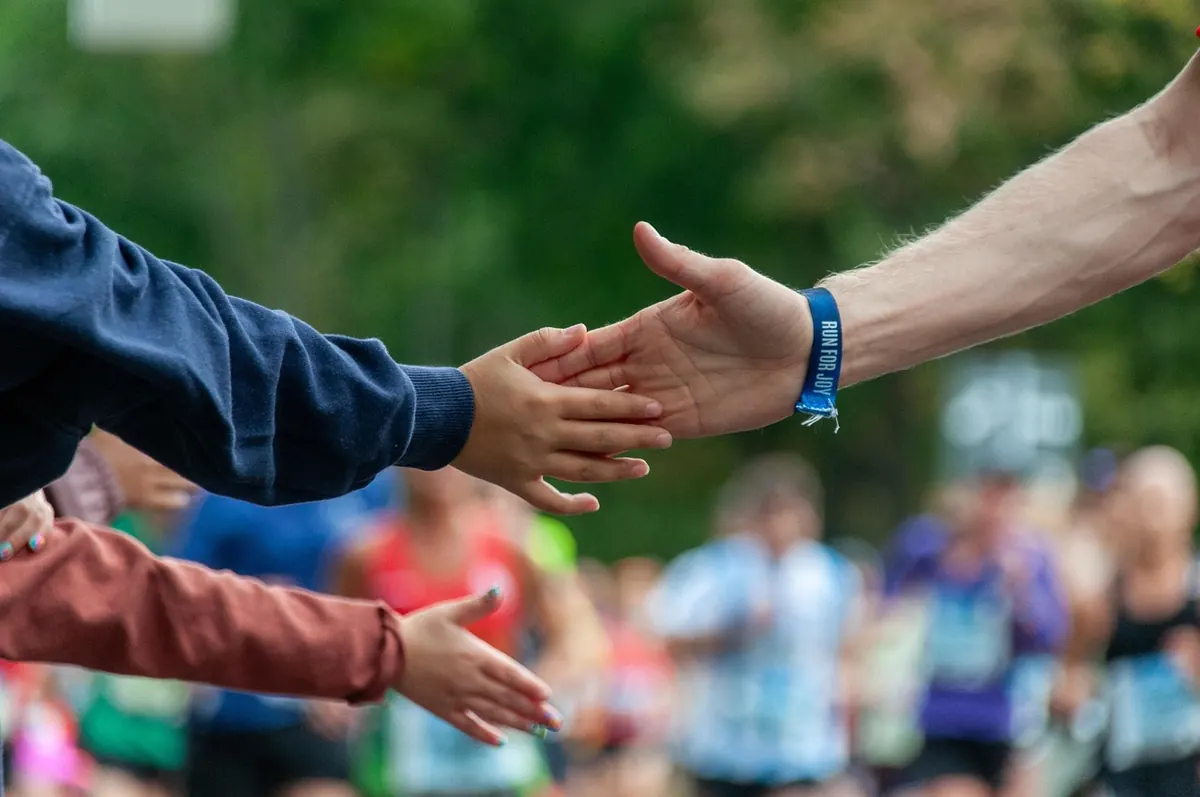
The photograph people frame is almost never the leader crossing the line. It is the woman in the dinosaur costume, the two friends holding hands for the last hundred metres, the kid in the junior dash who is running with their whole body.
Technique that helps
Use short bursts of three to five frames rather than holding the shutter down, so you can move and refocus between sequences. Focus on the eyes and track with the runner as they approach. Change your height: shoot from kneeling for a low, dramatic angle on the finish, and from slightly above at the start when the field is packed tight. If a bib has a name on it, use it. Shouting "Go on, Priya" gets you a face instead of a grimace.
Who you point the camera at
Spend as much time on the back half of the field as the front. Walkers, grandparents, and the runner who is clearly having a hard day are the people least likely to have a good photograph of themselves, and the most likely to be thrilled that you took one.
The Atmosphere Is Not Just Runners
Atmosphere lives in the edges. Volunteers filling paper cups. A marshal clapping with gloved hands. A dog wearing a race number. Chalk messages on the pavement. The medal table, the cake stall, the announcer reading names. Look for repetition and detail: a row of identical shoes, a wall of bibs pinned to a gazebo, hands reaching for water.
For a sense of speed, drop your shutter to around 1/30 and pan with a runner so the background streaks. Take a few wides with context — a field of colour against a church spire says more about your town than another tight crop. And give yourself one minute to simply stand and watch. The best frame usually shows up right after you stop hunting for it.
Etiquette, Consent, and Coming Back Next Year
Be the photographer the organisers invite back. Do not block the course or the finish chute, even briefly. If you want a close portrait of someone, ask afterwards, and if they say no, move on without a debate. Take particular care with children: ask a parent or guardian, and if you are unsure, shoot wider so the child is part of a scene rather than the subject. Respect anyone who turns away or covers their face.
If you plan to sell the images, license them, or hand them to a sponsor, check with the organiser first. Rules and permissions vary from event to event, and charity runs often have their own arrangements with participants. For your own gallery, shared freely, things are usually straightforward, but it is worth a two-minute conversation.
Back up your cards that evening. Do not reformat anything until the files are on a second drive.
After the Finish Line
Cull hard and deliver fast. A tight gallery of sixty good photographs posted within two days does far more for the event, and for your name, than three hundred files posted a fortnight later. Pull out ten or twelve of your strongest frames — a start, a hill, a finish, a volunteer, a piece of atmosphere — and send them to the organiser for their newsletter and next year's posters.
Then write down three things: where you stood that worked, where you stood that did not, and what you would carry less of next time. Your second charity run will be twice as good as your first, and most of that improvement will have nothing to do with the camera.
Photo: wal_172619_II / Pixabay
Related posts
More stories you’ll love reading