


Portraits
Portrait Photography for Absolute Beginners: Your First 10 Shots in Ashford
September 30, 2026
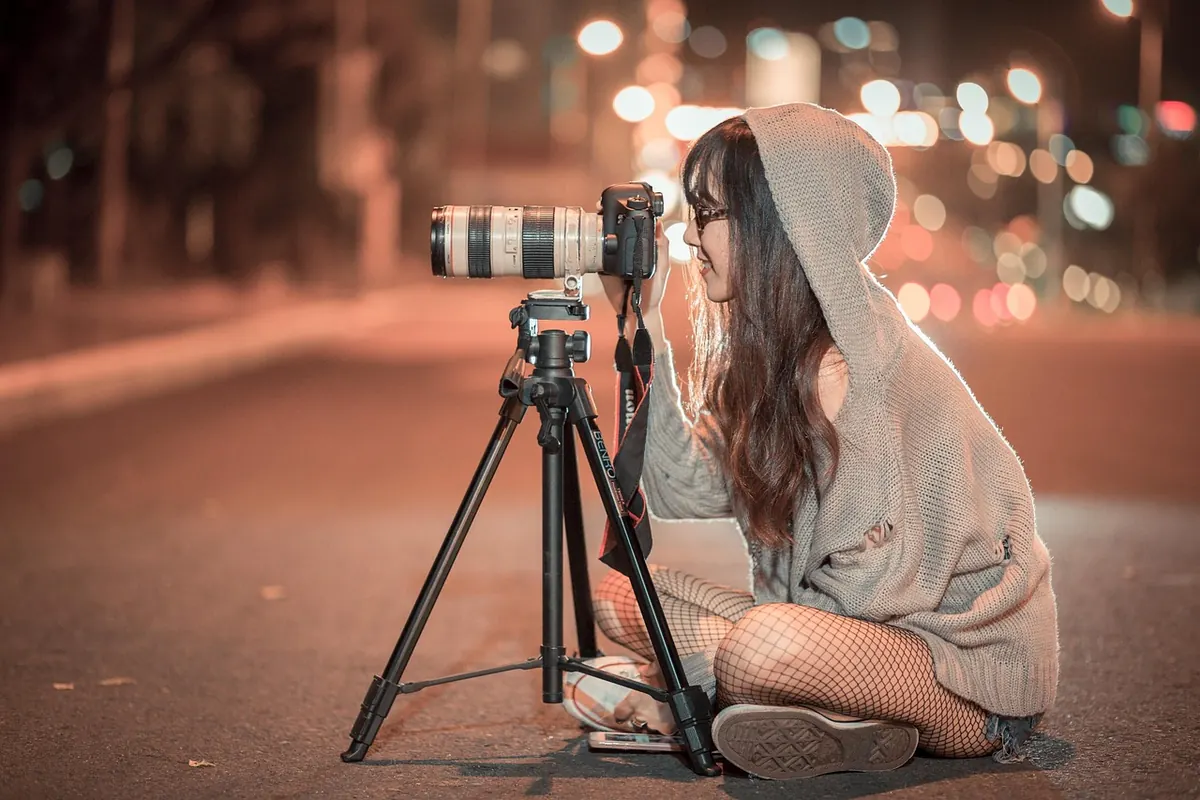
Ten good portraits are within reach before lunch. You don't need a studio, an expensive lens, or a subject who enjoys being photographed. You need a camera that is already set up, one willing person, and a few places around Ashford that do the lighting for you. Here are ten setups in the order I would shoot them, with the settings, the locations, and the words to use when someone asks, "What do you want me to do?"
Set the Camera Before You Meet Anyone
Fiddling with menus in front of your subject kills the mood and your confidence. Sort this out at the kitchen table.
- Mode: Aperture priority (A or Av). You choose the aperture; the camera handles the rest.
- Aperture: f/2.8 to f/5.6 for one person. Try f/8 if you want the background readable rather than soft.
- ISO: around 200 outdoors on a bright day, 800 to 1600 in shade or indoors.
- Focus: single point, placed on the eye nearest you. Not wide-area.
- Shutter: watch it. Below 1/125 with a moving person, raise the ISO.
- Flash: off. A doorway beats on-camera flash every time.
- Kit: charged battery, empty card, and any lens between 35mm and 85mm.
The Ten Shots
- Your front door. Stand your subject just inside a doorway so direct sun never touches their face. Shoot from the pavement, at eye level, about two metres back. The hallways of older terraces around Willesborough and South Ashford are made for this. Direction: "Look at the lens, chin slightly forward."
- Window light, sitting down. Indoors, switch off the ceiling light. Seat your subject at 45 degrees to a window, roughly a metre away. Expose for the bright side of the face and let the other side fall dark. Direction: "Hands on your knees, lean towards the window."
- Tree shade in Victoria Park. At midday, hard sun is unkind. Find dappled shade, put your subject's back to the trunk rather than to you, and steady your elbows on a bench. Direction: "Turn your shoulders this way. Stop. Stay there."
- The Great Stour. Along the Green Corridor you get water, footbridges and reeds. Put your subject on the path and shoot along the river, not across it, so the path pulls the eye towards their face. Keep signs and bins out of the frame. Direction: "Walk slowly towards me and don't look at the camera."
- Late light at Conningbrook Lakes. An hour before sunset the low sun is warm and the shadows are long. Put the sun behind one shoulder, expose for the face, and check that the background isn't brighter than your subject. Direction: "Look out at the water, then turn your head to me."
- A plain wall in town. In County Square and the surrounding streets you want a backdrop, not a crowd. Walk your subject up to a painted wall, a roller shutter or a shop window and stand close. Clutter disappears when you fill the frame. Move two steps left before you press the shutter. Direction: "Stand near the wall, hands in pockets, look over my shoulder."
- Under the Designer Outlet canopy. The covered walkways act like one enormous softbox, which flatters almost everyone. Go early on a weekday. Use the repeating roof lines as a graphic background, or find a white wall and let the even light do the work. Direction: "Three frames here, then we move on."
- Godinton House gardens. Check the opening times and any photography rules before you promise someone a trip. Clipped hedges, steps and dark yew give formal backdrops and deep shade, which is exactly what a bright afternoon needs. Shoot at f/4 and keep the horizon well above the head.
- Wye and the downs. Wye sits a few miles out of town and the height gives you clean backgrounds. Climb, turn, and shoot with the valley behind your subject. Wind will ruin a careful pose, so wait for the gust to pass instead of fighting it. Keep the skyline off the neck. Direction: "Turn your shoulders away from the wind."
- The movement shot. Finish with something in motion: walking a path, turning to laugh, stepping through a gate. Use continuous autofocus, 1/500 or faster, and shoot from slightly below eye level. Fire four or five frames without checking the screen. Direction: "Walk away from me, then turn round when I say your name."
What to Say When They Freeze
Most people who "hate photos" simply don't know what to do with their hands. Give two-part instructions: one for the body, one for the eyes. Then keep talking, because silence invites self-consciousness. A short countdown helps — three, two, one — and so does showing them a frame or two early on, so they can see they look fine. Compliment something specific rather than "lovely": the line of a shoulder, the colour of a coat against the wall.
Shoulders slightly to the right — good. Now drop your chin a touch and look at the lamp post above my left shoulder.
That sentence does more work than twenty minutes of posing theory.
Three Problems You Will Meet Tomorrow
- Everything is soft. Your shutter speed was too slow. Brace your elbows against your ribs, raise the ISO, and get above 1/125.
- Bright sky, dark face. You exposed for the sky. Meter for the face instead, or turn your subject so the light falls across them rather than behind.
- The background is a mess. Move your feet, not your zoom. Two steps sideways often turns a car park into a plain wall.
Your First Session, End to End
Pick one location from the list, one person, and thirty to forty minutes. Aim for twenty to thirty frames and choose three to edit, no more. Then walk the same route again on a dull day or at a different hour; the same doorway will look like a different photograph, and that comparison teaches you more about light than any new lens.
Two practical notes before you go. If you want to photograph children, or anyone else's family, ask a parent or guardian first, and respect a no without pushing. On private land and in gardens, check what's allowed before you unpack your bag. In winter, keep a spare battery in an inside pocket — cold drains them quickly, and cold hands make focusing harder than it needs to be.
Ten setups, one afternoon, one person who trusts you. That is how most people learn this craft, and it is a perfectly good place to start.
Photo: trinhkien91 / Pixabay
Related posts
More stories you’ll love reading