

Street Photography
Five Common Mistakes Beginners Make in Street Photography and How to Fix Them
September 28, 2026
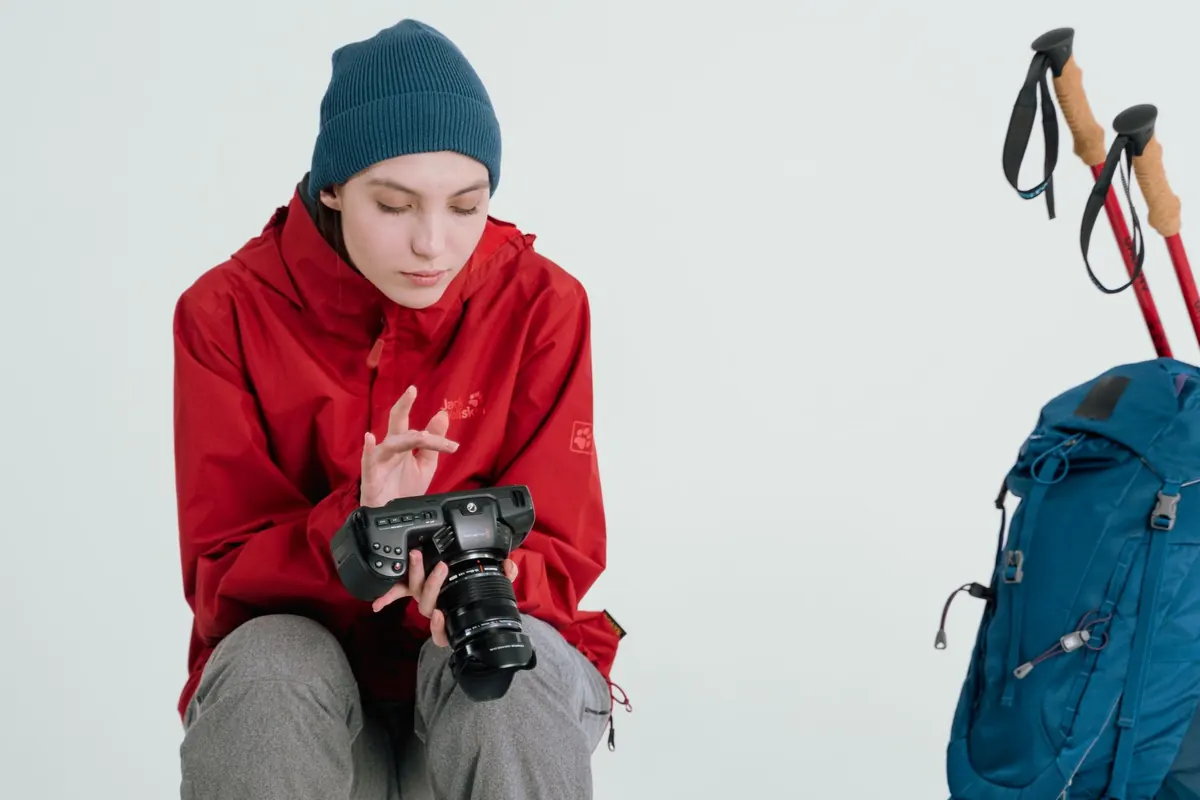
Most beginners don't have a talent problem. They have a habit problem. You head into town with the camera on auto, walk a loop past the shops, come home with two hundred frames, and find four that almost work. The light was fine, the people were interesting, and somehow the pictures aren't. That gap between what you saw and what the sensor recorded is almost always one of five repeatable mistakes — and each one has a drill that fixes it faster than another lecture about gear.
Rushing the shot
The most common beginner habit is walking and shooting at the same pace. You spot something, raise the camera mid-stride, press the shutter, and keep moving. What you get is the tail end of the moment: a shoulder sliding out of frame, a face half turned, a background you never chose.
Slow down more than feels comfortable. A decent rule is that every scene worth shooting deserves three exposures — one to settle yourself, one after you check the edges, and one more after the scene has had a chance to develop. Most people stop at the first. The third is usually the keeper.
Exercise: pick one spot and stay there for twenty minutes. A bench outside the market, the corner of a pedestrian crossing, a wall opposite a bus stop. Don't move. Let the scene come to you and watch how the same patch of pavement changes character every few minutes. Three sessions of this will do more for your timing than a month of walking.
Framing that stops at the subject
Poor framing is rarely about settings. It's about the edges. Beginners put the subject in the middle at eye level and stop thinking there. But the frame has four sides, and everything touching them is part of the picture: a bin lid, a stranger's elbow, a slice of parked car, the top of a lamppost with no visible base. If it isn't helping, it's hurting.
The edge check
Before every press, run your eye clockwise around the border — top left, top right, bottom right, bottom left. Two seconds, that's all. Ask one question at each corner: is this helping? You'll be surprised how often a small step to the left cleans up three problems at once.
The layer drill
Find a position where a foreground element sits low in the frame — railings, a café table, the frame of a shop window — with a person in the middle ground and a wall, street or skyline behind. Shoot ten frames this way without changing position. Layers give shallow, flat scenes the depth that a single subject never can.
Shooting the person instead of the picture
New photographers see a face and lift the camera; the background is whatever happens to be standing there. More experienced ones work the other way round. They find the light and the backdrop first, then wait for someone to walk into it. A plain subject in good light usually beats an interesting subject in flat midday glare.
Try it: find a stretch of painted shutters, a stripe of sun on a wall, a set of steps with a clean silhouette behind. Frame it. Leave the middle empty, and wait. When somebody enters, shoot, then keep waiting for the next one. Half an hour of this gives you a small set of pictures that share a look — far better than forty unrelated snapshots.
Ignoring the person on the other side of the lens
Street photographs are pictures of real people going about their day. What you may legally photograph varies from place to place, so check the rules where you shoot before you rely on them, and respect private property — stations, shopping centres, markets, anywhere staff ask you to put the camera away. Ashford's station concourse and covered shopping areas count as private space, so ask if you're unsure.
Beyond permissions, there is simple decency, and it matters more than any technique:
- Stop means stop. If someone signals you to lower the camera, lower it. No picture is worth making a stranger feel hunted.
- Give children extra space. Don't photograph them unless a parent or guardian is clearly relaxed about it.
- Skip private, painful moments. Distress, medical trouble, arguments, tears. Walk on.
- Be ready to share. Offer to show the frame, and delete it if you're asked. A smile and a camera held at chest height defuses most situations before they start.
- Don't block the pavement. Doorways, crossings and delivery bays are other people's workplaces.
None of this makes you a timid photographer. It makes you a welcome one, and welcome photographers get to keep shooting on the same street for years.
Waiting for somewhere more photogenic
There's a trap in thinking good pictures live somewhere else. The street outside your office, the walk to the school gate, the same Saturday market — these are exactly the places where a project can grow, because you'll see them in every weather and at every hour.
Exercise: choose one location within walking distance and return to it six times over six weeks, at roughly the same time of day. Shoot ten frames each visit, no more. By the fourth trip you'll start noticing details nobody else does, and people will stop noticing you. That familiarity is the whole advantage of practising locally.
Your next four walks
Do one of these a week. They take less than an hour each and they target the habits above directly.
- The standstill. Twenty minutes in one spot. Three exposures per scene. No wandering.
- Edges and layers. One location, ten frames, foreground always present. Check all four corners before every press.
- Background first. Find the light, frame it empty, wait for people to walk in.
- The five-frame edit. After any walk, pick five pictures, write one line about why each works, and delete the rest.
Then go back to walking fast, because that's fun too. The point of the drills isn't to slow you down forever — it's to make the slow decisions automatic, so that when the moment does arrive, your hands already know where the edges are.
Photo: Tima Miroshnichenko / Pexels
Related posts
More stories you’ll love reading